First, the pattern. Open and print at 100% the pattern below. It has brief instructions on it as well. The 1 inch square should measure 1 inch. If it's bigger, your mask will be bigger. If it's smaller, your mask will be smaller. Whether that's good or bad depends on your face, I guess.
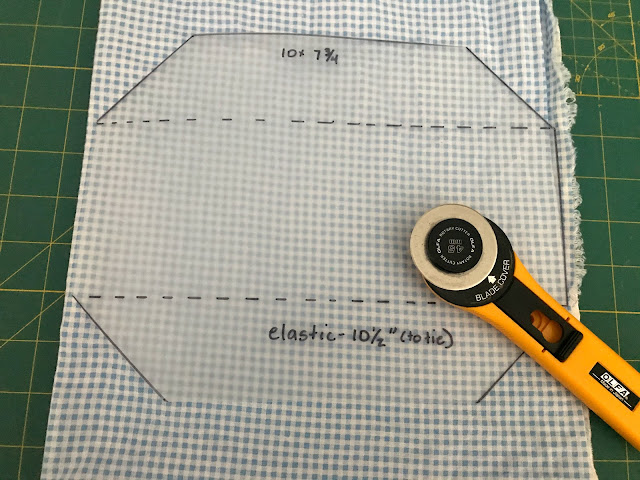
You are going to need to cut out one inner and one outer with the same pattern. You can use the same fabric, but some people prefer different fabrics just to make it easy to tell which side of the mask is out and which one is in.
I have transferred the pattern to a plastic sheet so that it's more durable. I use a rotary cutter and generally cut 4 pieces at a time.
After your pieces are cut, put the outer and inner layers right sides together. You're going to be stitching all of the way around, leaving a 3-4 inch gap on the long side on the bottom.
After sewing around, trim the corners and turn right side out. Poke corners to get them nice and crisp. You can iron, if you'd like. Make sure the fabric in the gap turns under so that when you topstitch, it looks just like the top side.
Topstitch on the long edge on the top and bottom approximately 1/8" from the edge. This will close up the gap you left for turning.
Fold the top down and the bottom up towards the center of the mask. Clip in place. Topstitch approximately 1/8 inch from the edge. This will help give the mask shape and structure.
Here's the trickiest part of the mask. You're going to be forming the channels for the elastic and folding the nose and chin panels to help give the mask it's 3D shape.
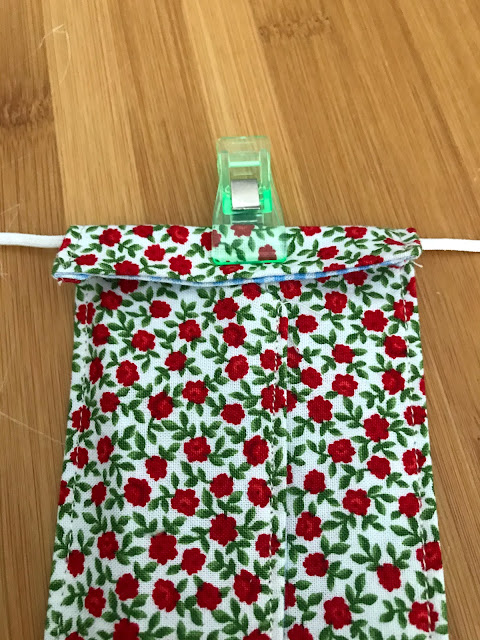
Cut the elastic to your desired length. I use 10 1/2 inches. My daughter likes it shorter, my husband likes it longer. Put the elastic about 1/2 inch from the end of the mask and fold over. Clip it in place. Keep the elastic as close to the fold as you can. This will keep you from sewing over it (hopefully). Repeat on the other side.
Fold the chin side down so that the angled part is parallel to the elastic channel. It should go right UNDER the elastic channel. It will pull up part of the mask. That's ok and what you want it to do. Pin in place. Repeat for the other 3 corners. Sew as close to the edge of the elastic channel as possible, but making sure you catch the edge of the chin or nose folds, backstitching at the beginning and end.
Trim all the threads. Tie the elastic with and overhand knot and pull it into the elastic channel. You are ready to go!


